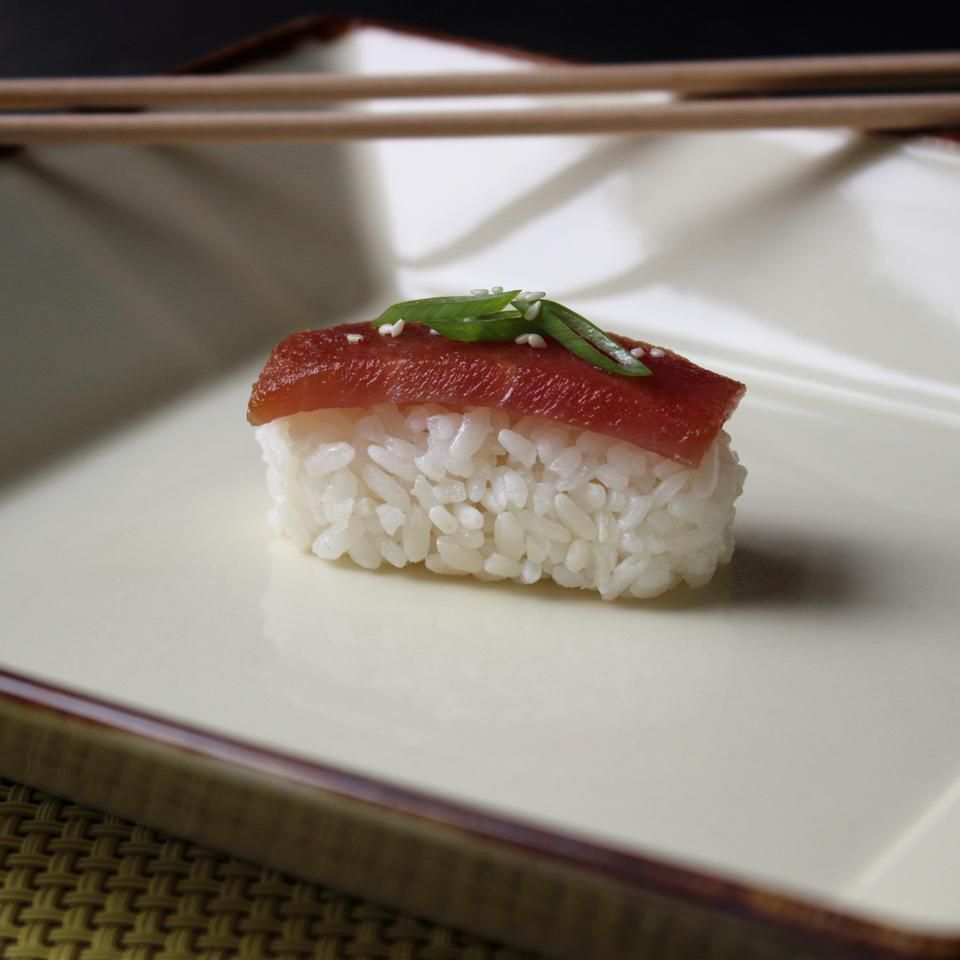
There are numerous uses for sushi rice. Naturally, sushi, but also as a side dish for grilled meat or a seaweed wrap. Additionally, it is good at room temperature, making it ideal for picnics.
| Prep Time: | 10 mins |
| Cook Time: | 20 mins |
| Additional Time: | 15 mins |
| Total Time: | 45 mins |
| Servings: | 6 |
| Yield: | 6 servings |
Ingredients
- 2 cups uncooked sushi rice
- 2 ¼ cups water
- ¼ cup seasoned rice vinegar, or more to taste
Instructions
- Place rice in a strainer and rinse under cold water until run-off turns from cloudy to completely clear, about 2 minutes. Place strainer over a bowl and let drain until almost dry, about 1 hour. Transfer to a heavy bottom saucepan with a tight-fitting lid.
- Pour water over rice. Place pot over medium-high heat and bring to a simmer without stirring. As soon as little bubbles appear on the surface and rice starts to simmer, reduce heat to low and cover pan. Cook for exactly 10 minutes. Remove from heat; lift lid for 1 second and cover again immediately. Let sit another 10 minutes.
- Transfer rice to a rimmed sheet pan and spread out with a fork, fanning (with a magazine or similar object) to start to cool it. Sprinkle about half the rice vinegar on the rice while gently tossing it. Continue fanning to bring rice to just over room temperature. Sprinkle the rest of rice vinegar over the rice and toss with fork to blend evenly. A small amount of rice should be easily formed into an oblong sushi base, but easily crumble when cut with a fork.
- I buy my rice vinegar already seasoned, but to make your own seasoned rice vinegar, combine: 1 cup rice vinegar, or cider vinegar; 1/2 cup white sugar; 4 teaspoons kosher salt
- You can also finish the rice in a large bowl using a bamboo rice paddle to stir and toss. Rice may be a bit stickier than rice tossed on a sheet pan.
Reviews
This is not the way to make sushi rice. Not good at all.
super easy followed the recipe except I put it i. the rice cooker. turned out great
This is not even close to what I learned in Japan, but I thought I would give it a try. No thank you. My teacher in Japan did a 1:1 ratio of water to rice. She washed the rice 2 times in a bowl with the same amount of water each time (1 cup for 1 cup of rice), stirring the rice with a clean hand, fingers spread out like you are clawing something. Stir it until the water get’s really cloudy (about 1-2 minutes), pour out, repeat. The 3rd time, we fill the bowl with same amount of water, and knead the rice with one hand for about 3-4 minutes. You know when to stop when the majority of your rice grains looks clear. Pour out the water. (Save the water if you would like rice tea). Fill the bowl with same amount of water and let it sit in your fridge for at least 20 minutes. When time is up, look at how white your rice turned. Pour your rice and water into a pan. Bring to a boil, and then immediately pop on a lid, and turn heat down to allow to simmer. Start your timer for 13 minutes. DO NOT LIFT THE LID (or use a glass lid if you need to see what’s going on in there). When the timer dings, remove from heat with lid ON for 10 minutes. When the timer dings a second time, lift the lid and check out your awesome rice. You can shape into sushi, rice balls, whatever you wish. My kids now eat rice regularly with their bento lunches. The rice does well for about 2 days in a sealed container in the fridge. We season lightly with salted and toasted sesame seeds. Hope this helps!
I didn’t care for this receipt. I followed the direction but I didn’t like the texture of the rice on this recipe. it was too hectic to wash out and then dry out but then ended up with too sticky like the glue. I’d rather stay with my typical method of cooking rice on the stove. Asian Medium grain rice is typically stay sticky side than fancy long grain rice anyways so all of wash and dry 1 hour and then cooking step wasn’t necessary. I am all up for simple and easy as possible but taste great when I cook. I used seasoned rice vinegar instead of plain rice vinegar which taste a lot better than what this recipe use plain rice vinegar to mix with cooked rice.
This was our first attempt making sushi. The rice was perfect!
Made as written. Method worked very well.
Turns out every time. No fuss
I love this method, very straight forward, and very informative! (the negative review presumes he isn’t using seasoned rice vinegar, when he clearly states that he is…seasoned RV is important).
No, I tried this one as well, and you absolutely need the proper balance of rice wine vinegar, sugar and salt for proper sushi rice. At least that’s what I think, and it seems to be what I’ve eaten in every sushi restaurant I’ve visited – ever. To be super simple: equal amounts rice wine vinegar and sugar, and half that amount of salt. Microwave or heat over the stove until solids dissolve. Epicurious adds a piece of kombu for flavor, which I usually do.
This is the best sushi rice I have ever made!
