This recipe for pan-fried potatoes and crispy bacon with ramps creates a flavorful spring dinner. You’re missing out if you’ve never had a ramp. They are a member of the leek family and have an interesting flavor that includes garlic and onion.
| Prep Time: | 10 mins |
| Cook Time: | 1 hr |
| Total Time: | 1 hr 10 mins |
| Servings: | 16 |
| Yield: | 16 servings |
Ingredients
- ¼ cup butter, melted
- ½ cup honey
- 2 tablespoons brown sugar
- ¼ teaspoon salt
- 4 cups raw pumpkin seeds
- ¼ cup white sugar
Instructions
- Place oven rack in the highest position. Preheat oven to 300 degrees F (150 degrees C). Line a large baking sheet with aluminum foil.
- Mix butter, honey, brown sugar, and salt together in a bowl; add pumpkin seeds and toss to coat. Spread coated seeds in 1 layer onto the prepared baking sheet.
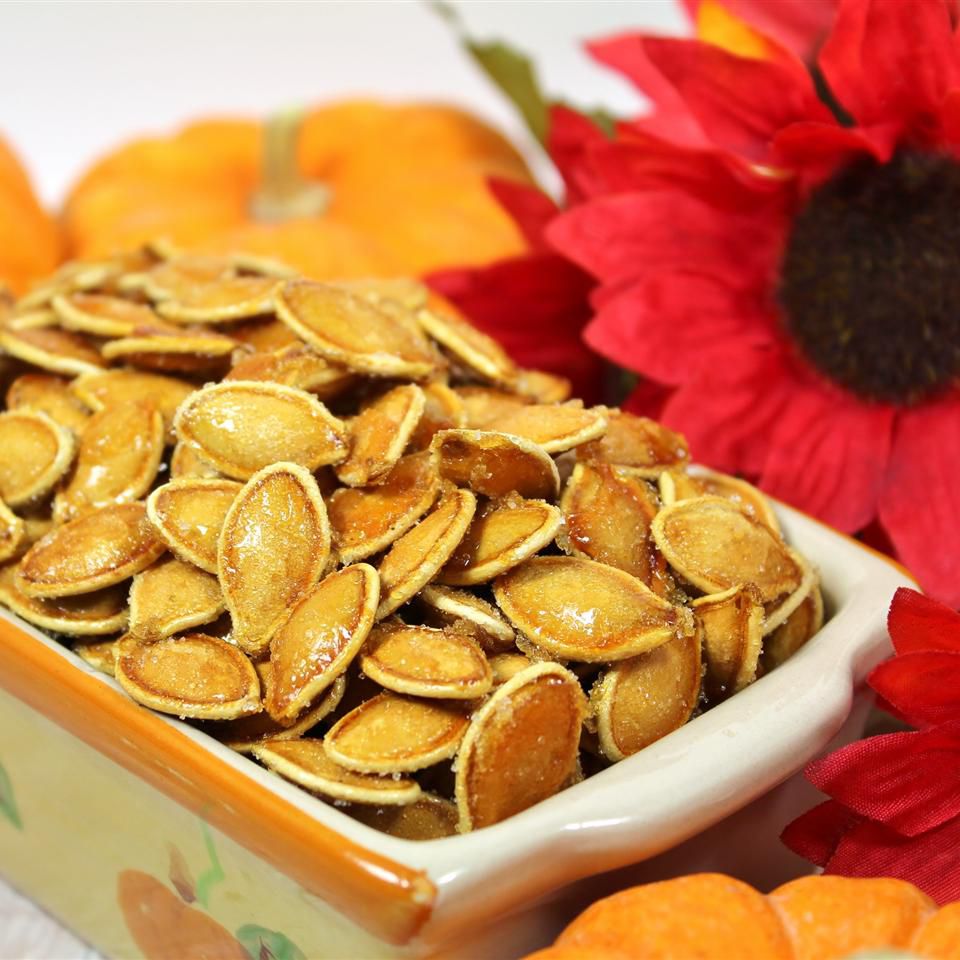
- Bake in the preheated oven for 20 minutes. Stir seeds and continue baking for 20 more minutes. Sprinkle seeds with white sugar and bake until lightly browned, about 20 more minutes. Cool seeds and store in an airtight container.
- Ensure you do not overheat the sugar. While pumpkin seeds can be baked for over an hour at 300 degrees (149 degrees Celsius), the sugar will caramelize and may burn.
Nutrition Facts
| Calories | 148 kcal |
| Carbohydrate | 22 g |
| Cholesterol | 8 mg |
| Dietary Fiber | 1 g |
| Protein | 3 g |
| Saturated Fat | 2 g |
| Sodium | 61 mg |
| Sugars | 14 g |
| Fat | 6 g |
| Unsaturated Fat | 0 g |
Reviews
Kids love it every holloween after we carve our pumpkins
They do burn easily so a little lower temp is best. They are delightful sticky honey yumminess!
We carve the pumpkin and ate the seeds in the very same day. Yum this recipe is great.
This recipe was a hit! Although the oven was only set to 300° after stirring the seeds after the first 20 minutes of roasting and putting them back in the oven for the next twenty minutes, they started to brown very quickly. Good thing I was nearby and could smell them before they could burn. So total roasting time was only 27 minutes and they were very brown. Next time I think I’ll stir after the first 10 minutes and then keep them in for another 10. That being said……… They came out delicious. Couldn’t stop eating them!!!!
Too long to cook. I add my honey AFTER I cook them with seasoning salt and it works out much better.
A huge sticky mess. Lost half the seeds because he were permanently glued to the tin foil lined baking sheet. The flavor was very, very good.
Tastes good!
I decided to try a couple of new pumpkin seed roasting recipes this year, and I have to say this because s delicious! I also did a Mexican style too! I mixed the too in a bowl for myself when I was in a sweet and spicy mood!
We liked it……I might do it again next year
These were so gooey good! I also scaled down the amount of ingredients to half as I only had 2 cups of pumpkin seeds. It gives a total of 60 minutes baking time and I did not find mine needed quite that long. I just kept taste testing them until they were done. I am adding this to one of my absolute favorite roasted pumpkin seed recipes
I used coconut oil instead of butter and I used seeds taken out of a pumpkin 15 minutes before I preheated the oven. Oil seems to help prevent burning. Will use recipe again. Kids carve and I get to try new recipes on the seeds.
Tastes more like candy than a healthy snack!
Followed the recipe exactly and turned out perfectly!!! After reading some of the not so great reviews I decided to not let my seeds dry before cooking. The added moisture made all the difference. Transferred the seeds to a cool cookie sheet then let them cool!!! So yummy!!!
Used my large pampered chef cookie sheet. Cooked well, did not burn. No foil. They do come out sticky to place in a air tight container when they are still somewhat warm.
USE parchment paper if you have it! The foil ripped when i stirred the seeds, I think parchment paper would have been a better choice. I transferred them to the paper after they were cooked, otherwise they’ll stick to the foil after cooling. I did half the batch, 2cups of seeds; I did the 20min as directed, then the second 20min, I cut down to 10min, sprinkled the sugar, stirred, and cooked for another 15-20min. The reason I cut the cook time is because the recipe states the directions are based on the full batch, which would be more seeds to cook and hence more time needed. Sugar may brown, but that’s ok, it’s still really yummy! Tastes like toffee. I would add that I washed and dried my seeds overnight, this recipe should include that but doesn’t.
I would have given this 5 stars if the cooking time wasn’t too long. I only baked for 40 minutes total and these came out perfectly. With that change (and a little cinnamon), this turned out to be the best recipe for pepitas I have ever tried. So good!
DO NOT LET COOL ON FOIL! It will stick. I made half the batch and checked and stirred every 10 minutes for about 40 minutes. These came out hot and messy, when cool they tasted great. Worth a try once.
I have to give this recipe 3.5 stars because the instructions will cause you to burn the pumpkin seeds. Unfortunately, I let them go to long and they now have a burned sugar flavor. We will try to eat them anyway, but I wish I had taken them out of the oven about 15 min. earlier than I did. Just watch them closely, as all ovens vary. The first 20 min. went fine, it’s into the second set of 20 min. when you should be aware that the pumpkin seeds may get overdone…be forewarned!
My kids went to town on these. I followed as instructed but scaled the recipe down to suit 1-1/2 cups of fresh seeds. Step #3 I put in for the 1st 20 minutes, which was fine, but barely got threw to the next 20 minutes as they were getting brown fast. So I pulled them out and dusted with the sugar, but noticed they were still browning really fast, so I stayed at the oven door and stirred every few minutes or so to keep them from burning. I removed them from the oven at about 5 minutes left from finishing the 2nd part of the 20 minutes stated in step #3. They wouldn’t or couldn’t bake for 60 minutes. When I removed them, I noticed the sugar melted into the honey glaze. So I dusted again with sugar for that wow factor and glad I did. They had that buttery sweet taste that my kids were saying tasted similar to kettle corn. Which I had to almost agree. Will make again.