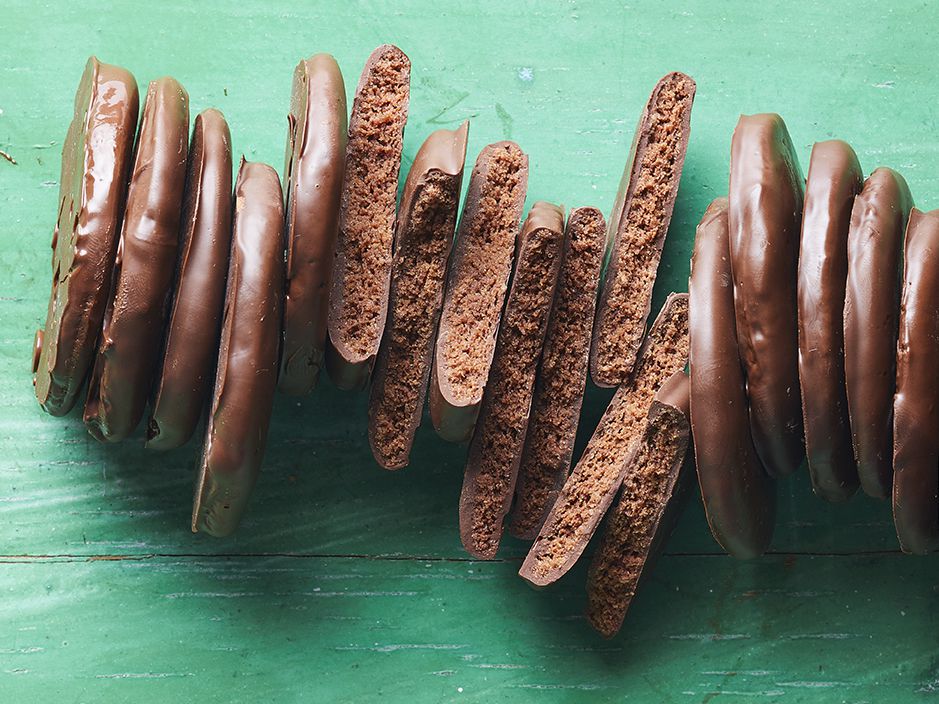
Make your own homemade versions of these Thin Mints if you enjoy Girl Scout cookies.
| Prep Time: | 30 mins |
| Cook Time: | 7 mins |
| Chill Time: | 2 hrs |
| Total Time: | 2 hrs 37 mins |
| Servings: | 24 |
| Yield: | 24 Thin Mints |
Ingredients
- ½ cup butter, softened
- ½ cup sugar
- ¼ teaspoon salt
- 1 large egg yolk
- ½ teaspoon peppermint extract
- 1 cup flour
- ¼ cup unsweetened cocoa powder
- 8 ounces semisweet chocolate, chopped
- 8 ounces dark chocolate candy melts
Instructions
- Beat butter in a large bowl with an electric mixer at medium speed about 30 seconds. Add sugar and salt and beat until combined. Beat in egg yolk and peppermint extract. Beat in flour and cocoa. Shape dough into a 6-inch roll. Wrap in plastic wrap or wax paper. Chill until firm enough to slice, about 2 hours, or freeze about 1 hour.
- Preheat the oven to 375 degrees F (190 degrees C).
- Cut roll into 1/8- to 1/4-inch slices. Arrange 2 inches apart on an ungreased baking sheet.
- Bake in the preheated oven until edges are firm, 7 to 8 minutes. Cool on the baking sheet on a wire rack (cookies are too delicate to remove until cooled).
- Microwave semisweet chocolate and candy melts in a small bowl, stirring twice, until melted and smooth, 1 to 2 minutes.
- Dip each cookie into melted chocolate, allowing excess to drip off. Arrange on wax paper-lined trays. Chill until set.
- Layer cookies between waxed paper in an airtight container to store. Chill up to 5 days or freeze up to 3 months.
Reviews
I had trouble getting my dough into a perfectly round roll, so when I cut the roll into slices, the slices were pretty oval-shaped. I also cut my slices way too thick, so the cookies didn’t crunch the way the original thin mints do (that’s my own fault though, not the recipe – just bear in mind that thinner is better). Flavor-wise though, they were delicious. Not quite the same as thin mints, but still very tasty in their own right. Would definitely make these again.
They were a hit! Everyone agreed that they were better than the original. They are easy to make, though the chocolate coating is a bit messy. I don’t think it is necessary to pick up melting chocolates…dark chocolate or semi sweet chunks should work just as well. The first batch, I dipped the tops. The chocolate was pretty thick, so I didn’t dip the bottoms. The second batch I spread the chocolate thinner with a knife, then waited for the tops to dry before turning them over to spread the bottom with melted chocolate.
It was AMAZING. It seriously tasted like heaven. Though it kind of got messy when I was dipping the cookies into the chocolate