This article will walk you through the process of starting a yeast-free, gluten-free sourdough starter. The sums listed here are for starting the mother dough. If you wish to keep the starter, you will need to keep extra flour mix on available so that you can keep feeding it. When it starts to resemble a sponge, it is ready to use and should be stored in the refrigerator because otherwise, it would spread out of control all over the counter. If your favorite recipes call for yeast or baking powder, try adding a little starter for a distinctive flavor and texture.
| Prep Time: | 10 mins |
| Additional Time: | 4 days |
| Total Time: | 4 days 10 mins |
| Servings: | 1 |
| Yield: | 1 sourdough starter |
Ingredients
- 3 cups brown rice flour
- 3 cups buckwheat flour
- filtered water, at room temperature, as needed
Instructions
- Mix together the brown rice flour and the buckwheat flour until well combined.
- Day 1: Whisk together 1 cup of the flour mix and 3/4 cup filtered water in a glass jar. Stir well until smooth and no lumps remain. Cover with a piece of cheesecloth or a clean linen towel and let sit at room temperature (about 70 degrees F (21 degrees C)), far from drafts or direct sunlight. Do not cover with plastic wrap, the circulation of air is important. Every once in a while, stir the mixture with a fork or whisk. Check to see if small bubbles start to form in the mixture. These bubbles indicate that wild yeast is forming.
- Day 2: As well as stirring, you will begin to feed the starter on day 2. In the morning, mix 1/4 cup of flour mixture and 3 tablespoons room-temperature filtered water. Once mixed well, add the flour-water mixture to the jar with the starter mixture. Stir well and continue to stir throughout the day if possible. Every 12 hours, add this same feeding mixture (1/4 cup flour plus 3 tablespoons water) to the mother mixture.
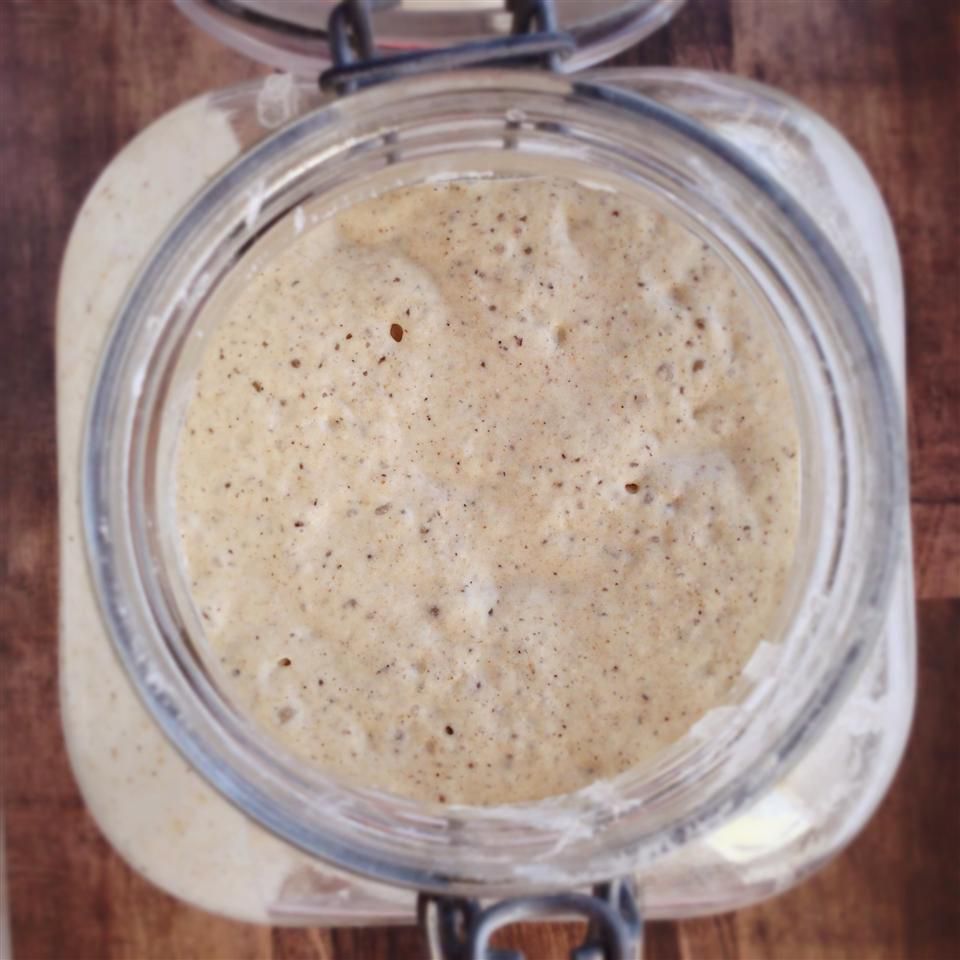
- Day 3: By now, you should notice an overall sponge-like texture. If this is the case, your starter is ready to use. At this point, it should be kept in certain conditions to keep from over-growing. Keep it sealed, in the refrigerator.
- If your starter has only a bit of foam at the top, but you notice a fragrant smell of yeast, these are good signs and could be that the room is too cool. Check to make sure the location is draft free. If you don’t notice these minimal signs and a note a foul smell, discard starter and restart.
- If your sponge is still very watery but has a sponge forming, mix well, take out 1 cup of the mixture, and discard (or use in another recipe) and feed the starter every 6 hours.
- By day 4 your starter should be ready. Keep the starter covered in the refrigerator and feed very two weeks or each time you measure out any starter.
- When not being used, your starter will need to be maintained. To feed: allow the starter to reach room temperature. Take out 1/2 cup of starter (use in a recipe, freeze, or discard) and add 1/2 cup of flour mix combined with 1/3 cup of water. Allow the starter to reach room temperature and allow to rest until the starter has begun to foam and bubble. Cover and put back in the fridge.
- Every time you use your starter, add back the same amount that you use. For example, if you use 1/2 cup for a recipe, add 1/2 cup of mixture to replace the same amount.
- Using brown rice flour alone will result in a weak yeast. Teff, quinoa, and sorghum flours are very nice and add unique flavors to the final starter. Tap water contains chlorine and can kill off the wild yeast. For this reason, it is best to use filtered water.
Reviews
Works great! In winter just be patient with the bubbling process
I’ve used this with sorghum flour and teff, too. Using a mix of flours has given it a lovely flavor.