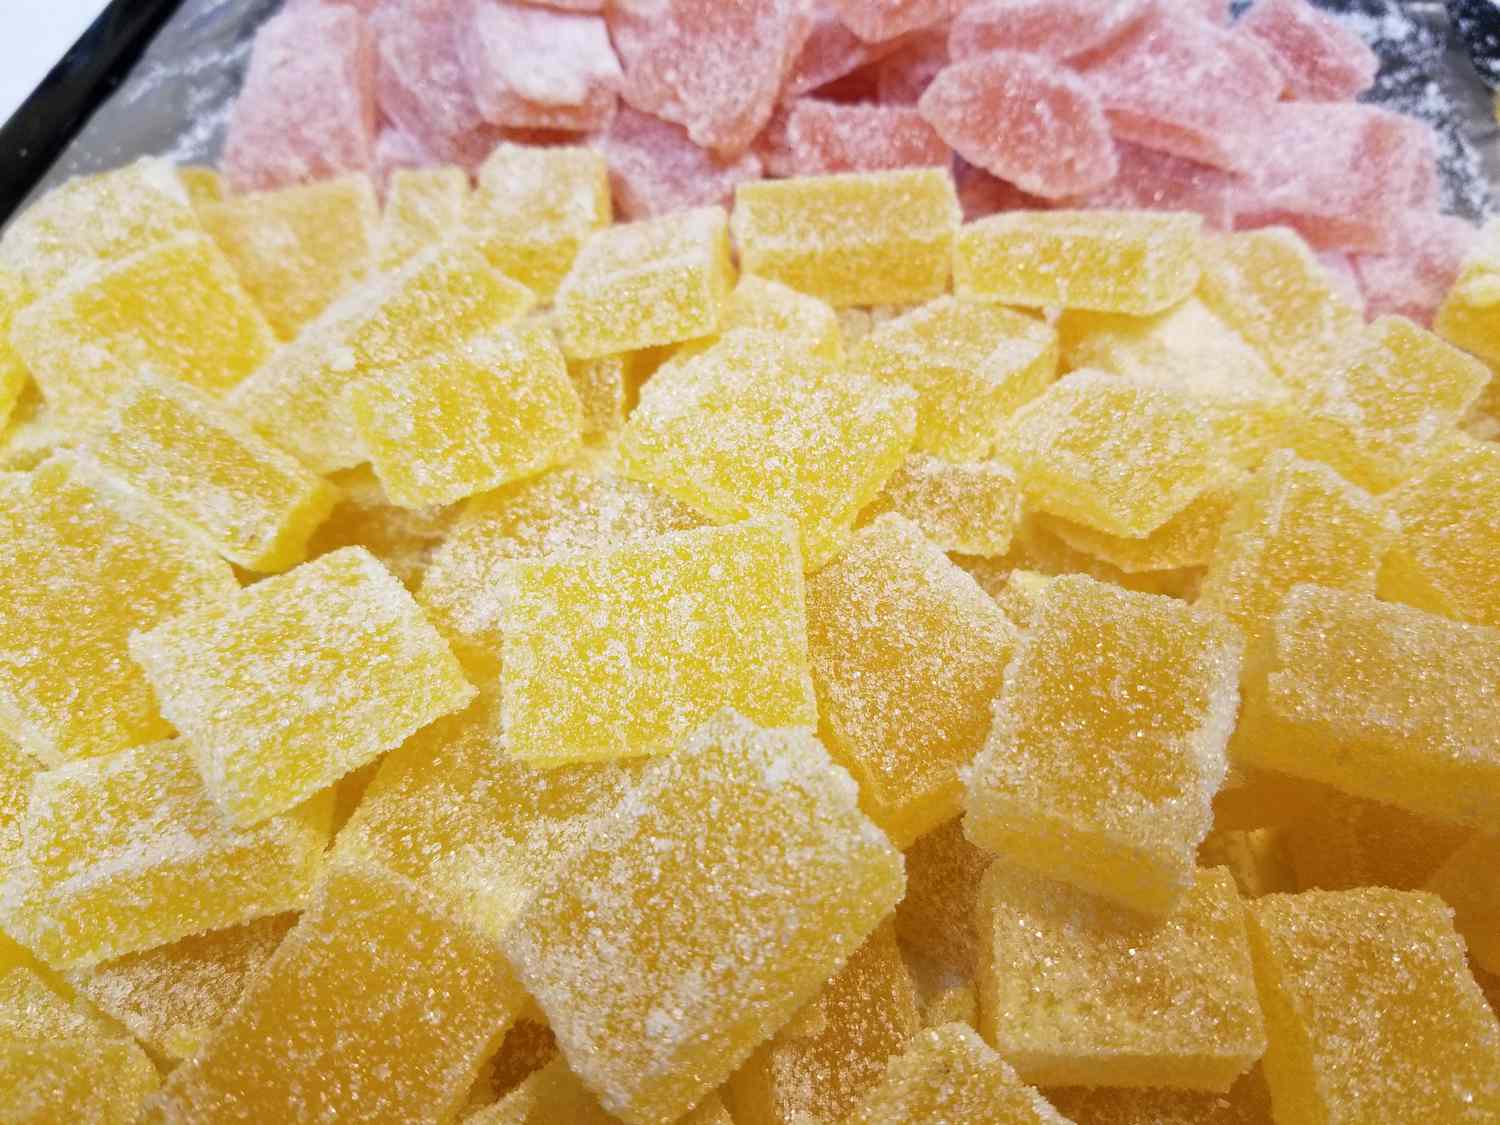
Even though fruit jellies are a straightforward and sweet delicacy, when you give them a pina colada flavor, you might become addicted to them.
| Prep Time: | 10 mins |
| Cook Time: | 5 mins |
| Additional Time: | 23 hrs 45 mins |
| Total Time: | 1 day |
| Servings: | 8 |
| Yield: | 8 servings |
Ingredients
- 1 cup granulated sugar
- ¾ cup Mott’s® Natural Applesauce
- 1 (3 ounce) package pineapple-flavored gelatin mix (such as Jell-O®)
- 1 (.25 ounce) package unflavored gelatin
- 3 teaspoons freshly squeezed lime juice
- ¾ teaspoon coconut extract
- ½ cup granulated sugar for coating
Instructions
- Spray an 8×8-inch baking dish with non-fat cooking spray. Place dish in refrigerator.
- Combine granulated sugar, applesauce, pineapple-flavored gelatin, unflavored gelatin, lime juice, and coconut extract in saucepan.
- Bring to a boil over medium heat, stirring constantly. Boil for about 1 minute. Remove saucepan from heat, and cool at room temperature for about 10 minutes. (Do not pour boiling hot liquid into a chilled glass dish.)
- Remove baking dish from refrigerator, and pour warm mixture into the cooled baking dish. Refrigerate until firm, 1 to 2 hours.
- When firm, remove from refrigerator, lift one side with a spatula, and turn out onto a cutting board or parchment paper sprinkled with granulated sugar.
- Using a sharp knife, cut gelatin into squares or use a small cookie cutter for decorative shapes. Coat the jellies on all sides with sugar. Place on a rack, and allow to dry overnight.
- Store in an airtight container.
- If you want a thicker piece of candy, use a smaller baking dish
Reviews
It was easy and took hardly any time. They turned out absolutely delicious!! I’ll be making these often! I’ll probably try other flavors too.
I did make these. First let me say I never do reviews, so this is a first. I make these little treasures every year for Christmas gift bags. I also never change recipes however I did a ton of testing and came up with some wonderful tweaks. I always make a double batch using a 9×13 glass pan. So instead of trying to find oils and keeping them fresh and on hand I found adding correlating kool aid flavors to the mix pumps the flavors just right. 1 pack per double batch. I also add 1 extra pack of gelatin per double batch. Not as sticky to handle and come out with the consistancy of chuckles candy. Coat the top of your already set candy in the dish before you even take it out. Super fun to make great tasting candy. I always use miniature cutters. Good luck with these little gems.
I had a lot of fun making these, and they’re very tasty. I made as directed, but next time I will try to make them using organic stevia and/or coconut sugar. I also made a batch of raspberry lemonade flavor using raspberry gelatin and lemon extract.
I’m the writer of this recipe, and I just made a batch of fruit jellies for homemade Christmas gifts. Here’s a tip that will make these even easier to make. Instead of rolling each piece in the sugar, put some sugar in a bag, add some fruit jellies, shake, and they’ll be quickly (and easily) coated. Although pina colada is still my favorite flavor, I wanted some multi-color jellies, so I used four Jell-O flavors: pineapple (for the pina colada), lime, grape, and strawberry banana (omitting the coconut extract and lime juice on all but the pineapple). Also, instead of cutting into squares, I used small cookie cutters to make them more decorative. *****UPDATE***** 2.6.17 Made a new flavor using raspberry Jell-O and raspberry extracts, really tasty!
These were fun to make, as I had never made anything like this before! I used cherry flavored jello, and cherry extract for the coconut in the recipe. I kept everything else the same, and they turned out great! I used silicone heart shaped molds for a Valentine’s Day theme. They turned out so cute!
Simple and DELICIOUS!!!!!! These really came together in a snap and the flavor and texture was spot on. Make sure to sugar your surface VERY well before turning this out to cut it…it’s sooooo sticky, lol. I’m trying orange and raspberry next and may even dip a few into chocolate…I can’t wait! Lutzflcat, Thanks for sharing such a wonderful recipe and a definite keeper~YUM, YUM, YUM!!!!!!
